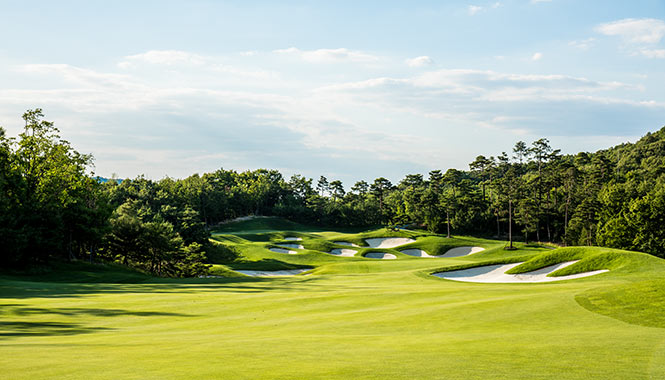
Welcome to three force carries within this challenging par 5. Your tee shot must carrier naturalized deep rough and negotiate a bunker right of the landing zone and a dense forest area along the entire left side of the fairway. The second shot for the mortal player requires a minimum 90 yard carry to reach your intended second landing zone to set up your approach. During a practice round and aggressive play KJ Choi used drive and rescue club to find the left center of green for his eagle. The rest of us tend to play a different style of game. From the second landing zone the approach is reminiscent of the 8th at Royal Lytham & St. Annes, where by your approach is to an elevated green fronted with deep pot bunkers and a blind putting surface. This uphill approach will test your honed club selection and distance control skills. The putting surface has two distinct levels but the front of the green both right and left have steep slopes that will pull the ball off the green for the slightly short approach shot or the putt downslope with too much speed on the ball. Choose your line to the hole carefully and die the ball at the hole to execute a successful two putt par.
